
Here are the steps to take when adding a new territory. It is useful to know that territories are determined by zip code, so it is a good idea to have your zip codes for your territories planned out in advance.
Adding territories
- Go to your workdesk and choose Territories
- Click Add or Edit Territories
- To create a new territory click on the "Territory Title" above a blank territory square and name your territory
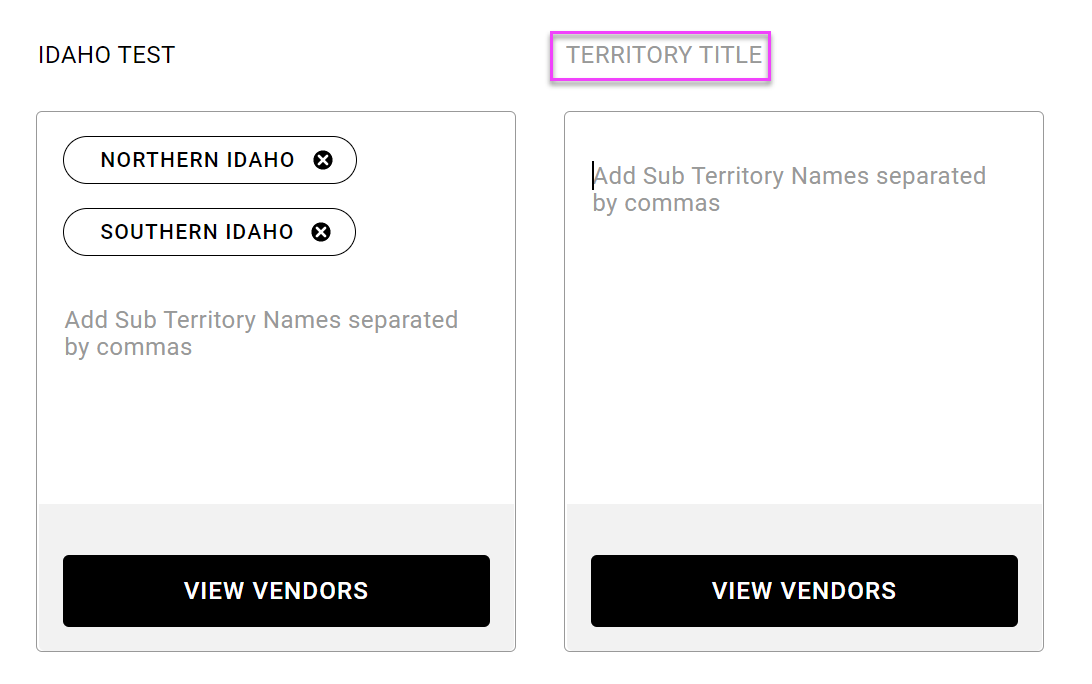
- Click on "Add Sub Territory Names separated by commas" and add your sub-territories
- Note: If your territory does not have any sub territories, just write the name of your territory again.
- Hit enter to load the sub territory
- Click Save in the top right corner
Populating the territory
- Click on the sub territory name you want to add zip codes to -or- Manage
- This will bring up the manage territory screen
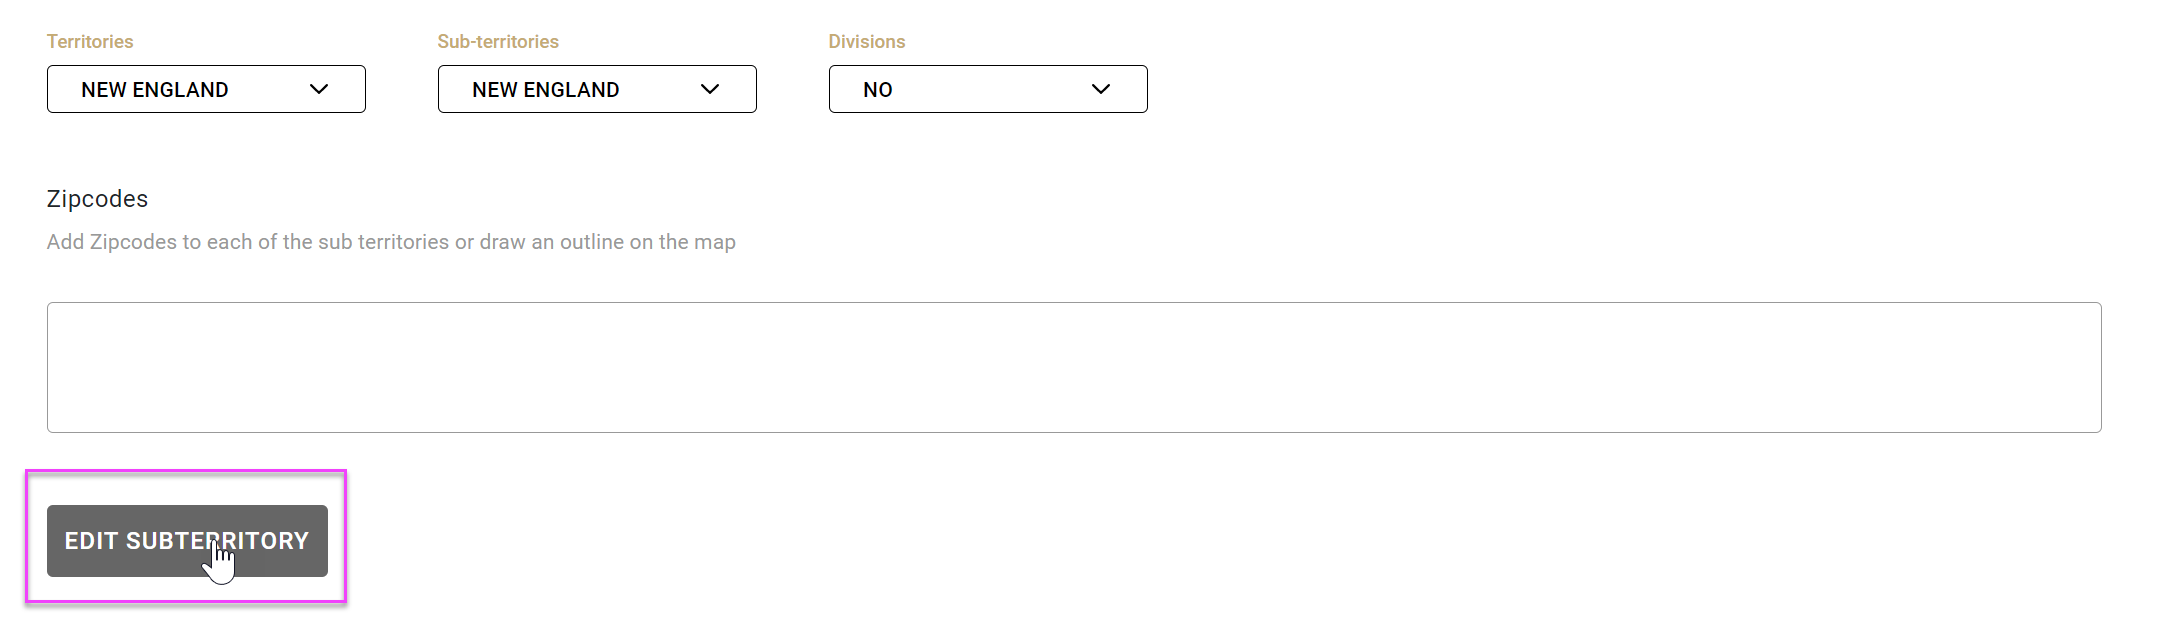
- You can choose the territory and sub territory using the drop down menus
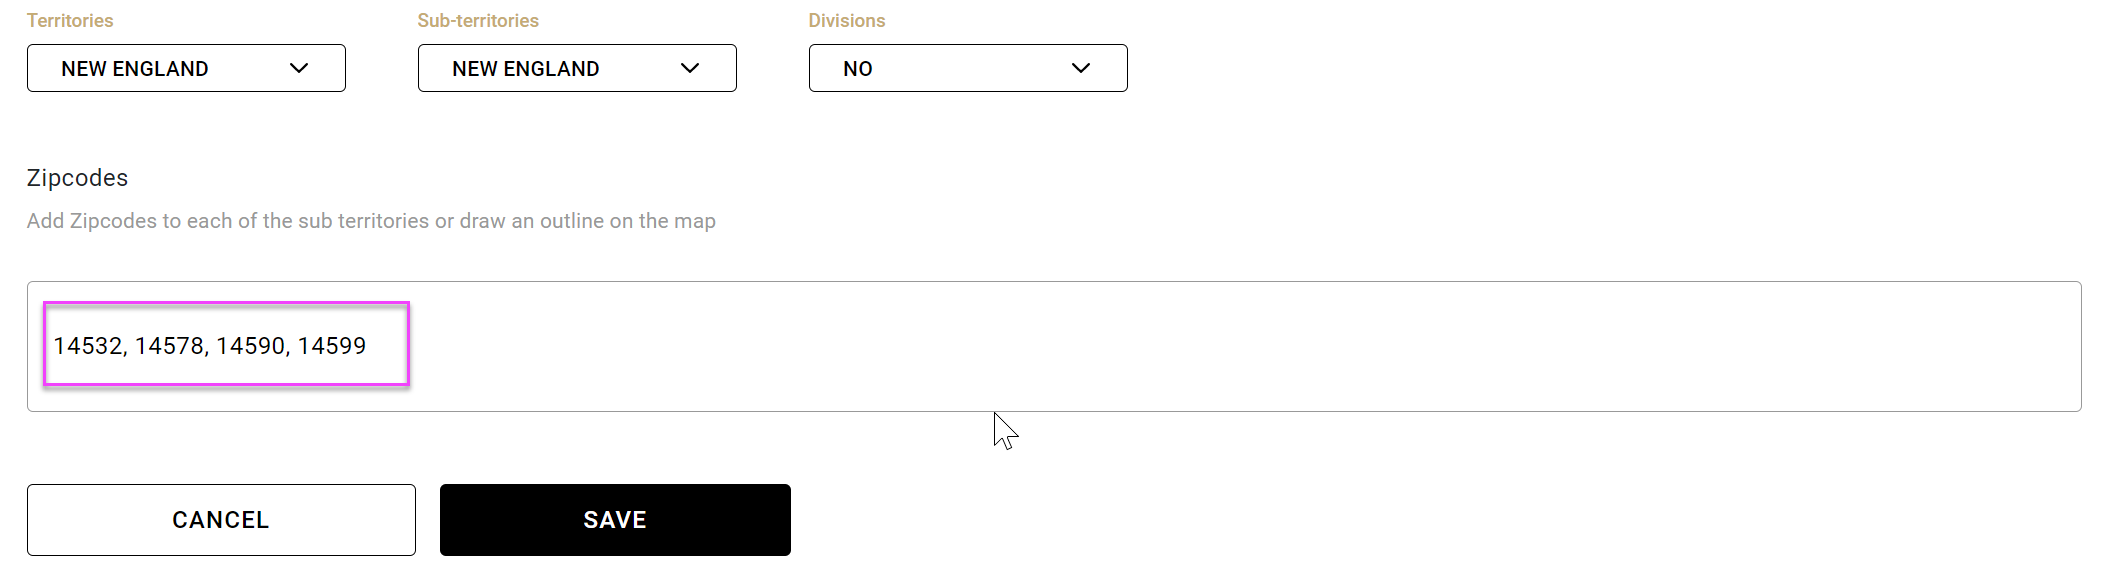
- Add zip codes for that territory in the box
- Click Edit Sub territory
- For multiple zip codes, separate with commas
- Note: You can also copy and paste a list of zip codes as long as they are separated with commas.
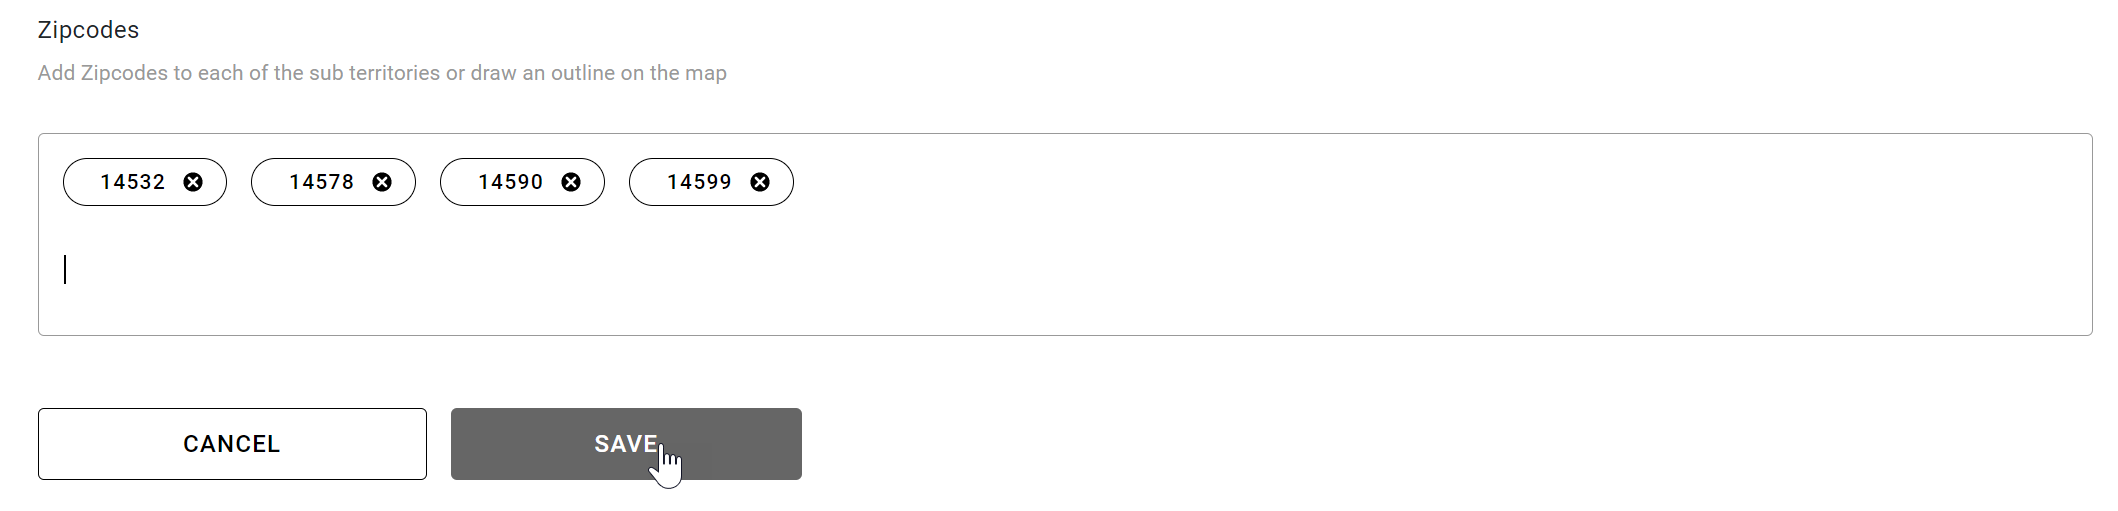
- Hit enter to load the zip codes (each zip will now have a bubble around it)
- Click Save to save the zip codes
- Assign a rep to the sub territory
- Click Assign Reps in the upper right corner
- Assign a rep from the dropdown menu

Note: You can only use a zip code once across all your territories. If you enter a duplicate zip, you will get a warning at the top of the screen telling you which zip codes are already in use.
Related articles
Editing Territories and sub Territories
Comments
0 comments
Please sign in to leave a comment.